Introduction
Have you ever stumbled upon a forgotten treasure? That’s exactly what happened to me when I discovered a dilapidated dollhouse at a local charity shop. The house was a shabby pink monstrosity with a collection of rather unimpressive wooden dolls. But beneath the surface, I saw potential.
A DIY Dollhouse Transformation
I knew that the house needed a complete makeover, but I wasn’t interested in restoring it to its original condition. Instead, I wanted to transform it into an abandoned time capsule, frozen in the 1970s.
I started by stripping away the old paint and giving the house a weathered appearance. Next, I replaced the furniture with pieces that I had made myself, using a variety of materials like wood, fabric, and miniature accessories.
Creating a Story
To give the dollhouse a sense of history and neglect, I decided to create a backstory. I imagined that the house had been abandoned in the 1970s, left to decay and fall into disrepair. The dolls, once lively and full of life, now seemed to be frozen in time.
The Original House
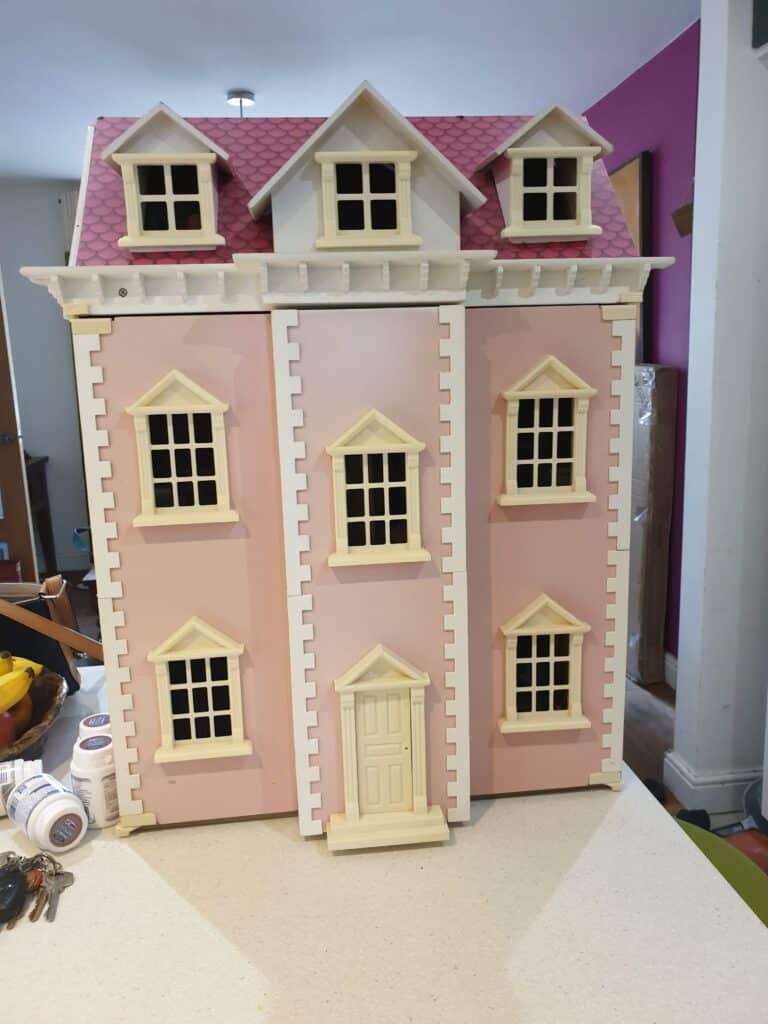
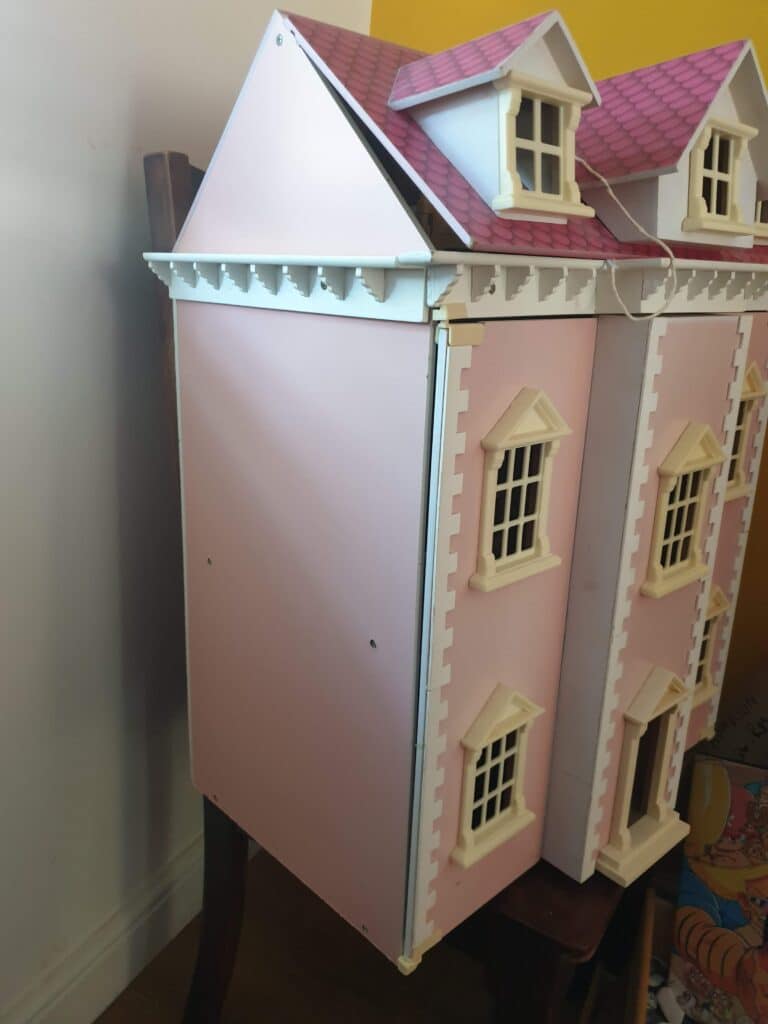
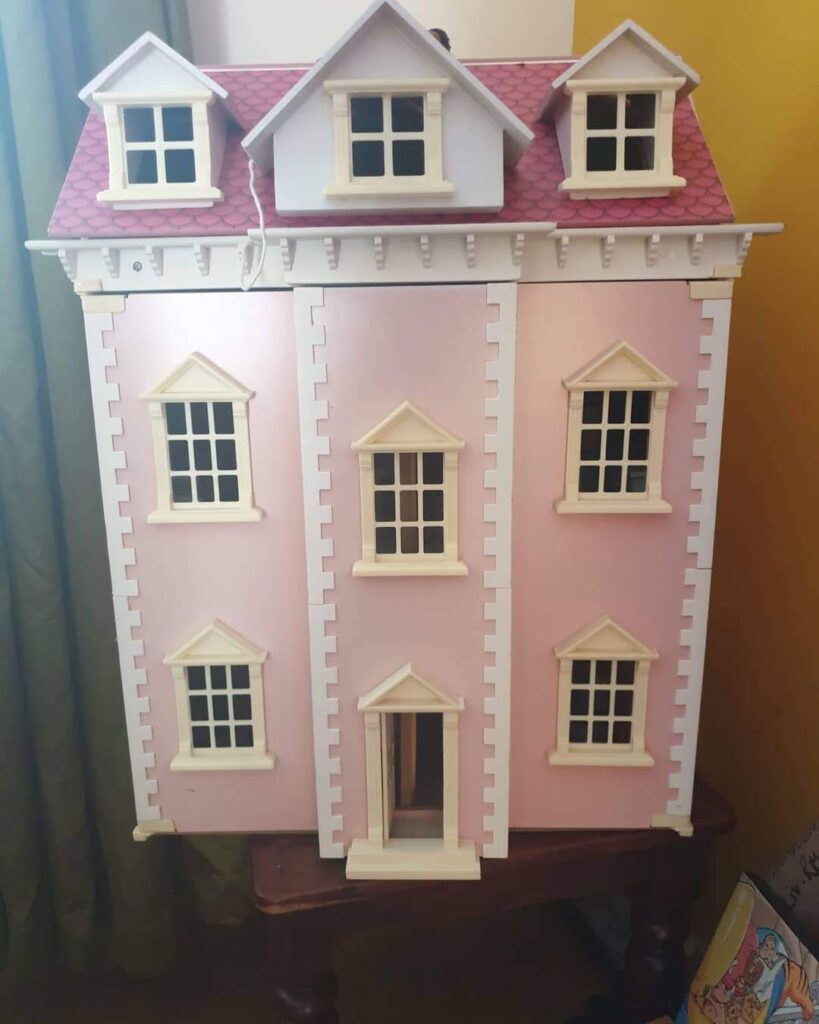
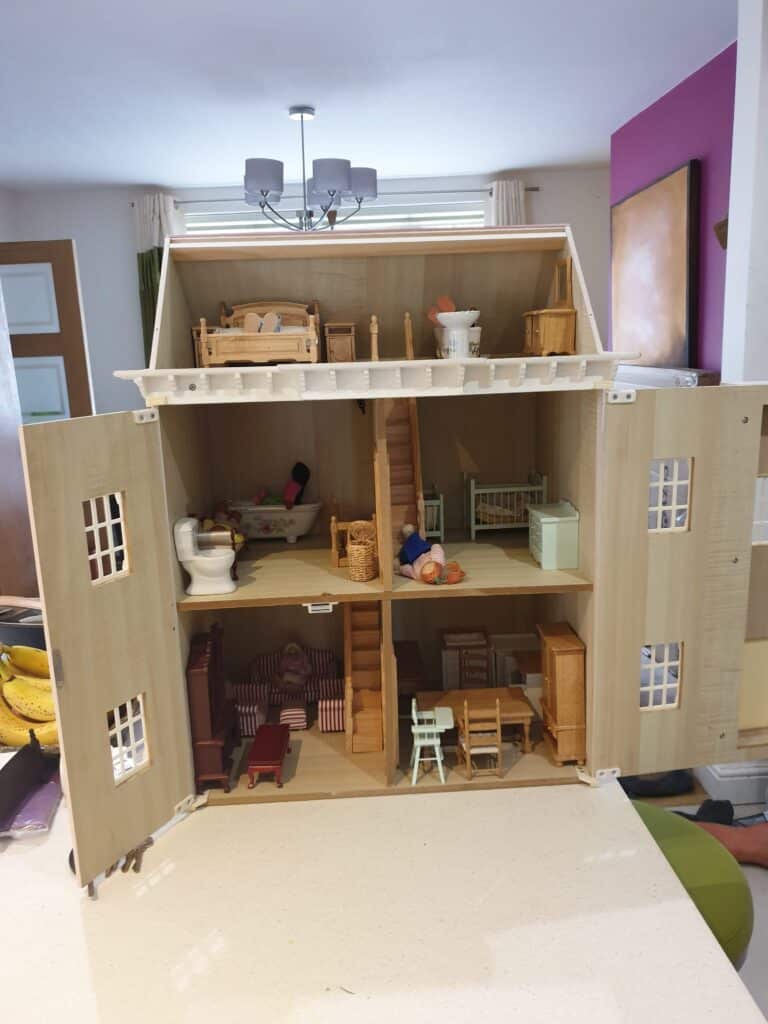
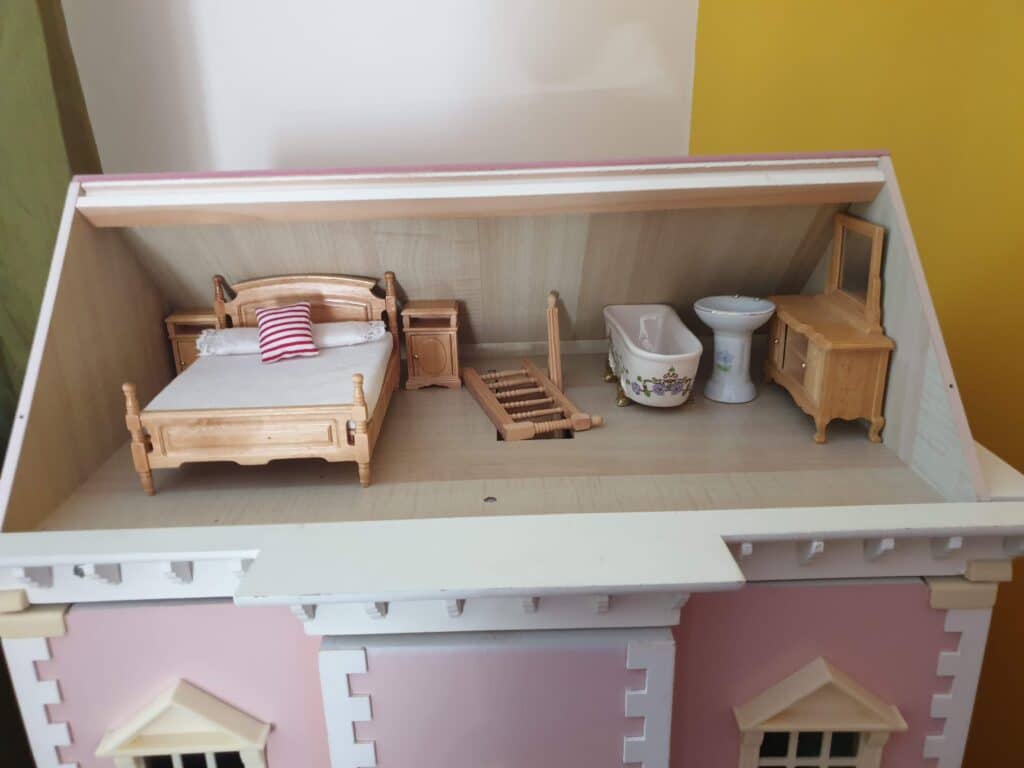
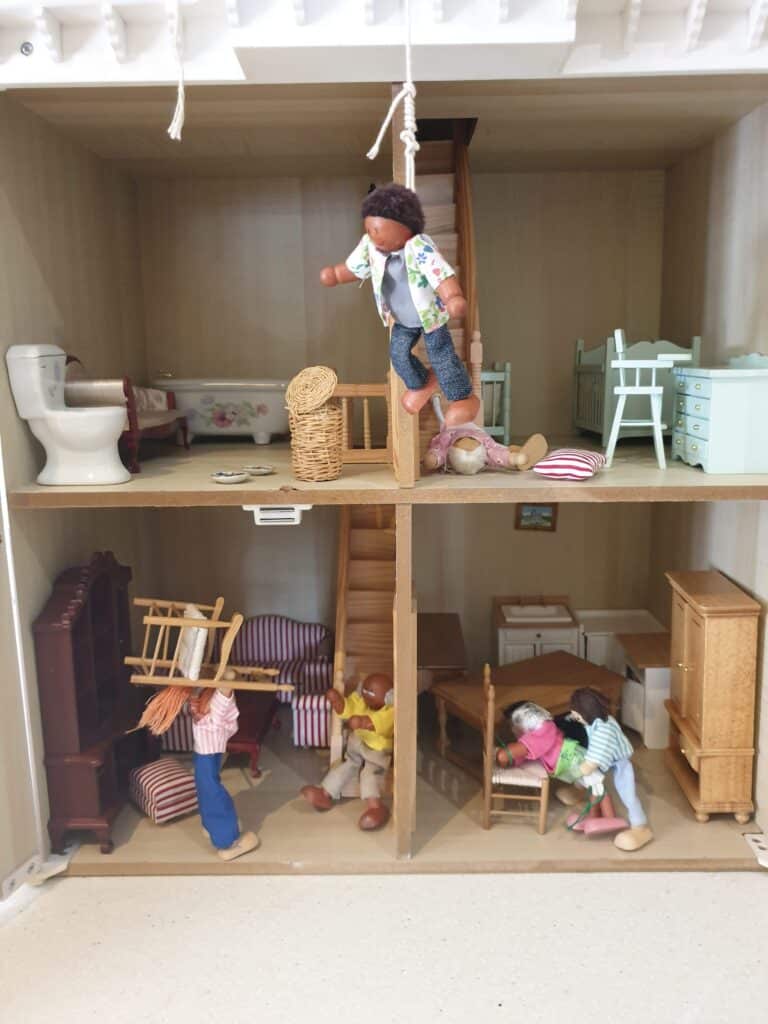
This was what the house looked like when I bought it. Pink and dull. It had these horrible peg-like dolls that wouldn’t work for my theme at all.
It also had some traditional furniture, most of which wouldn’t work either.
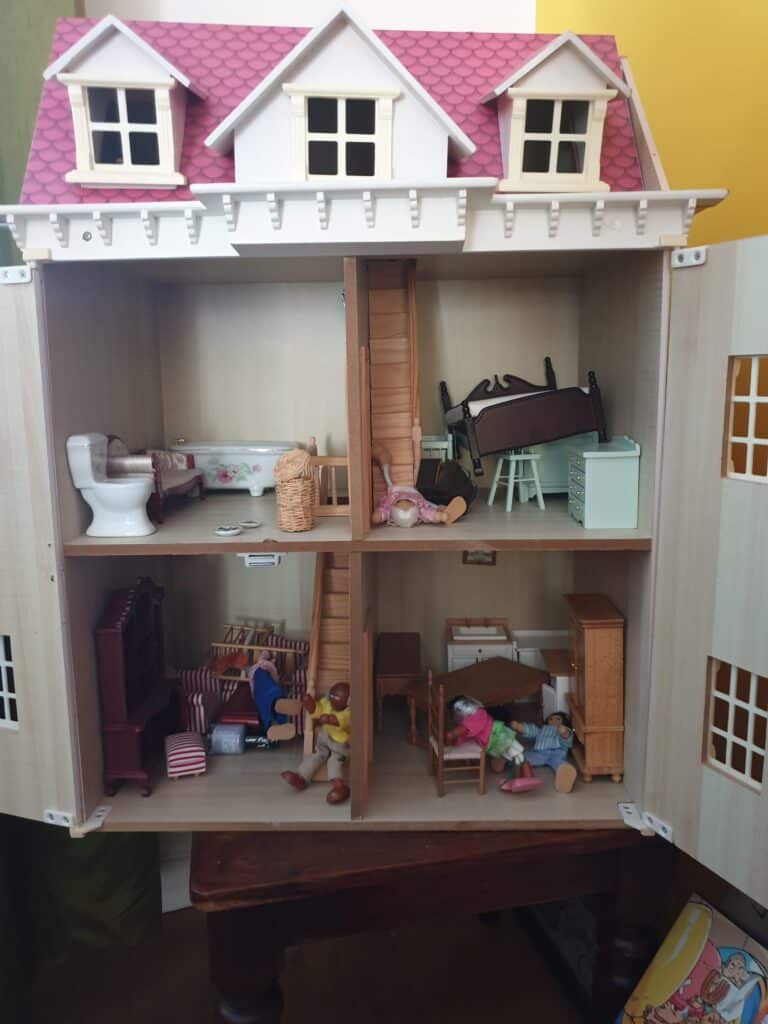
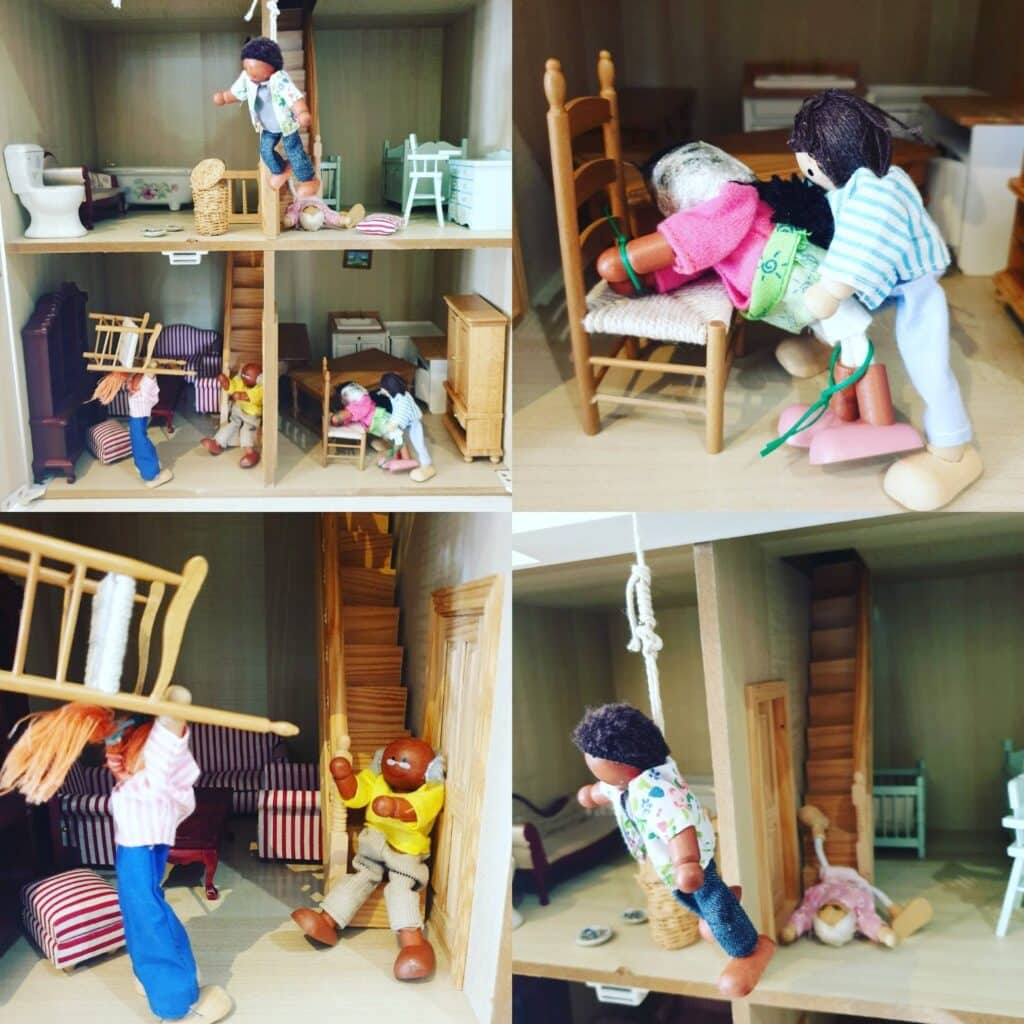
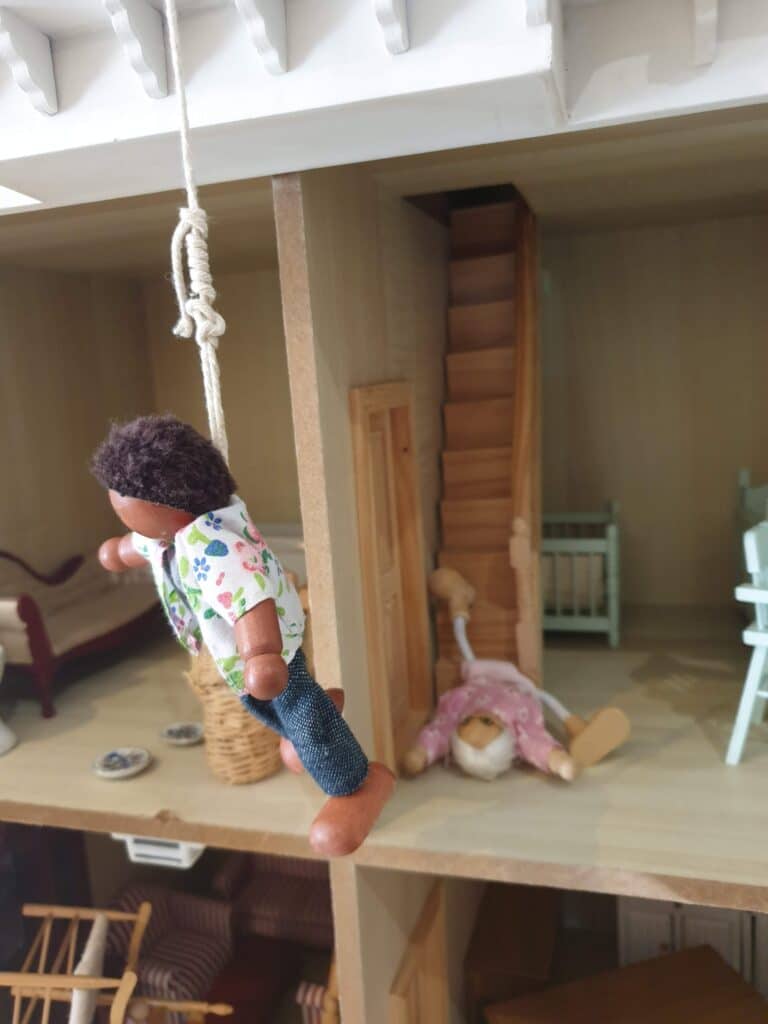
Side Gallery – My Rotten Kids
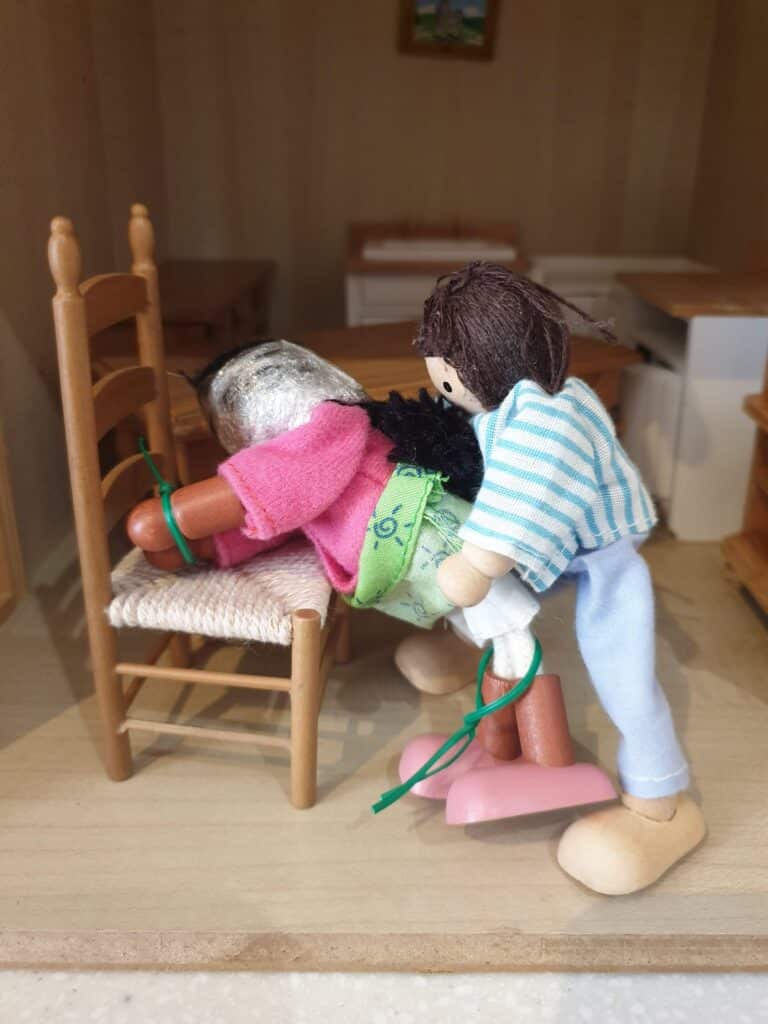
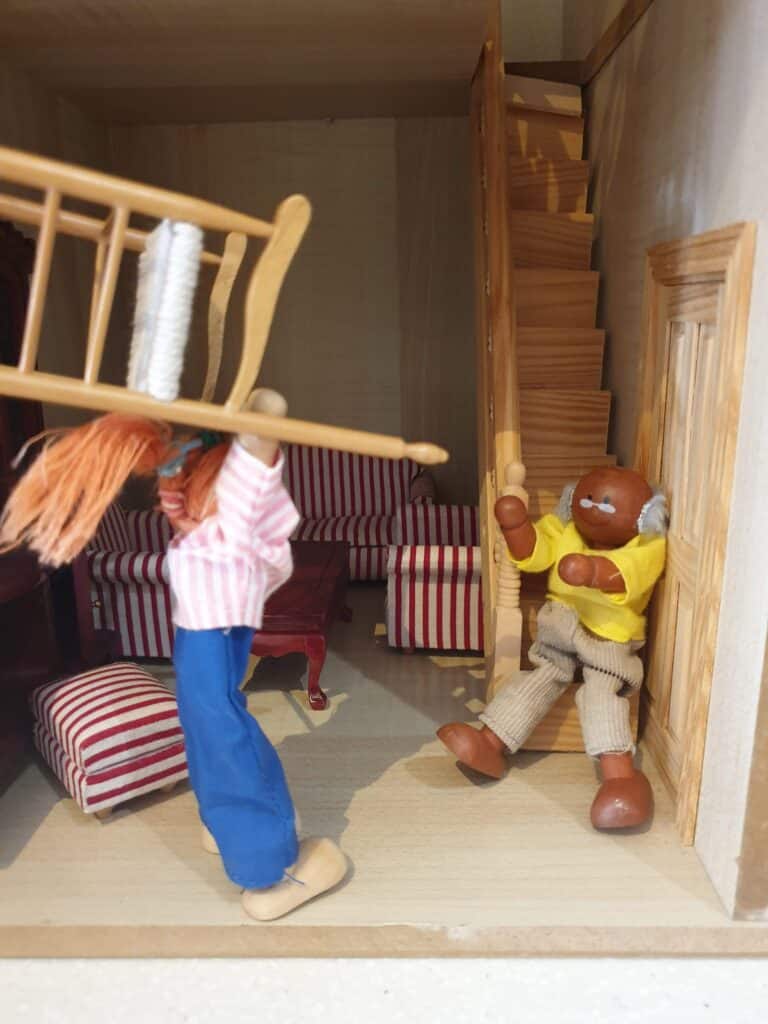
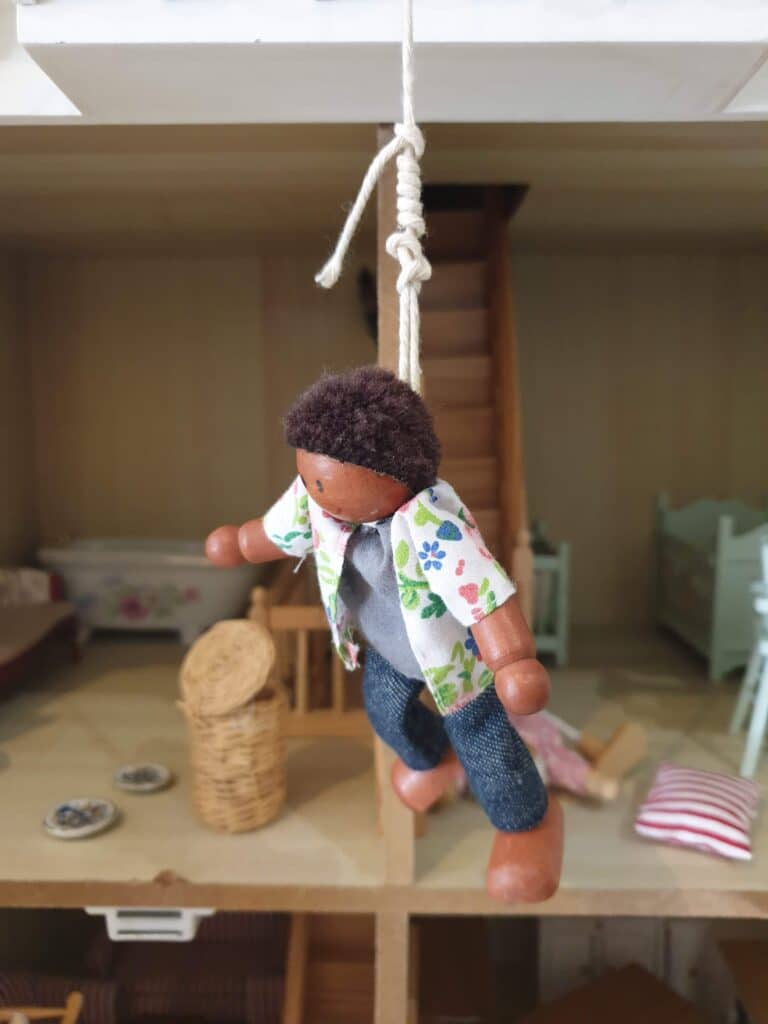
So when my rotten (adult) kids heard about this idea, they rearranged the existing contents rather naughtily (although it was funny!)
The Abandoned Exterior
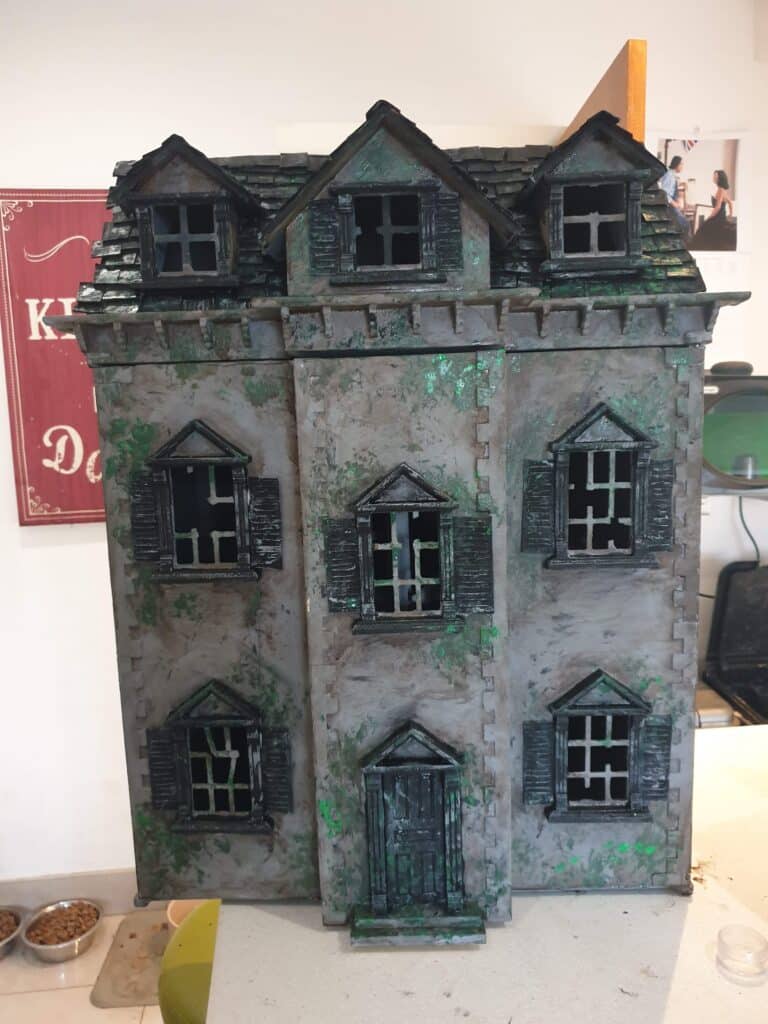
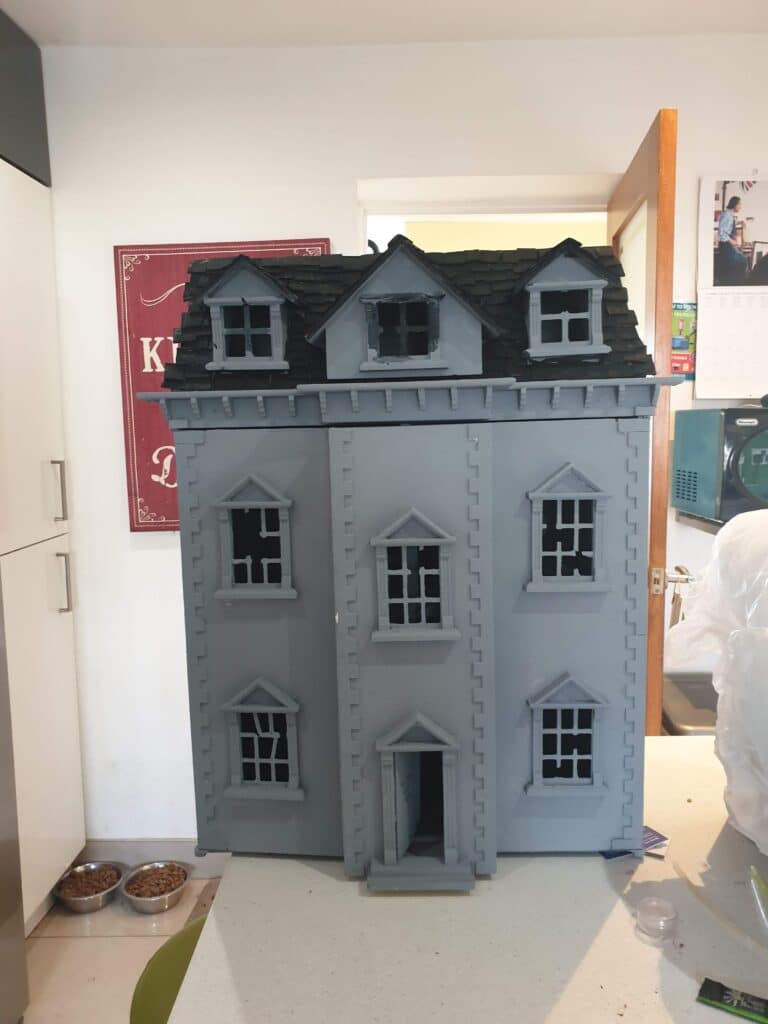
The first step in transforming the dollhouse was to give it a weathered and abandoned appearance. I started by stripping away the old pink paint and applying a coat of grey paint. To create a sense of decay, I aged the paint by adding a wash of darker paint and distressing the edges.
I also wanted to create the impression that the house had been neglected for years. To achieve this, I broke several of the windows using clear plastic packaging and then aged the broken glass to give it a realistic appearance.
Finally, I replaced the old roof with a new one made from old boxes. I added broken tiles and moss to give the roof a dilapidated and overgrown look.
The Decaying Kitchen
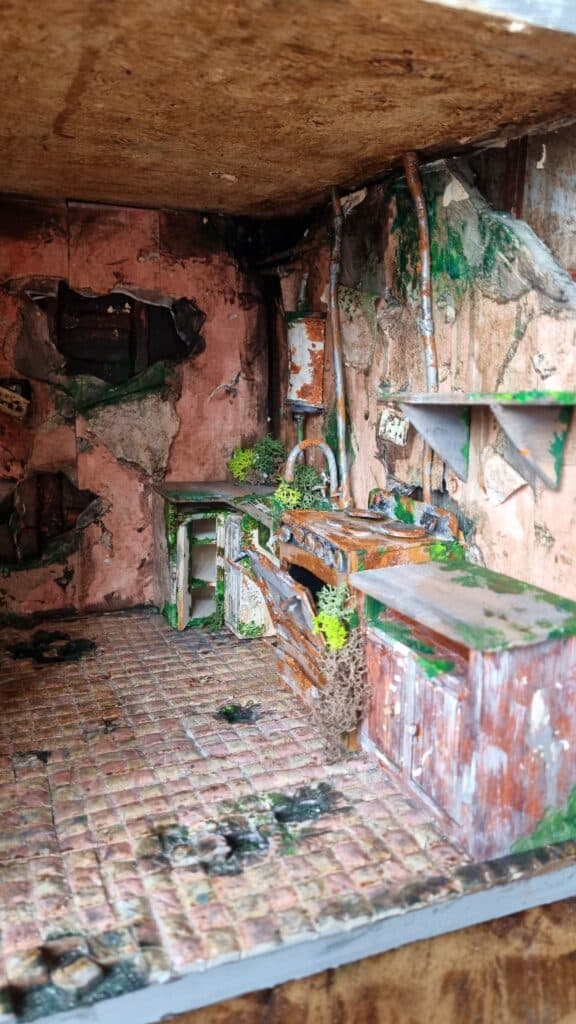
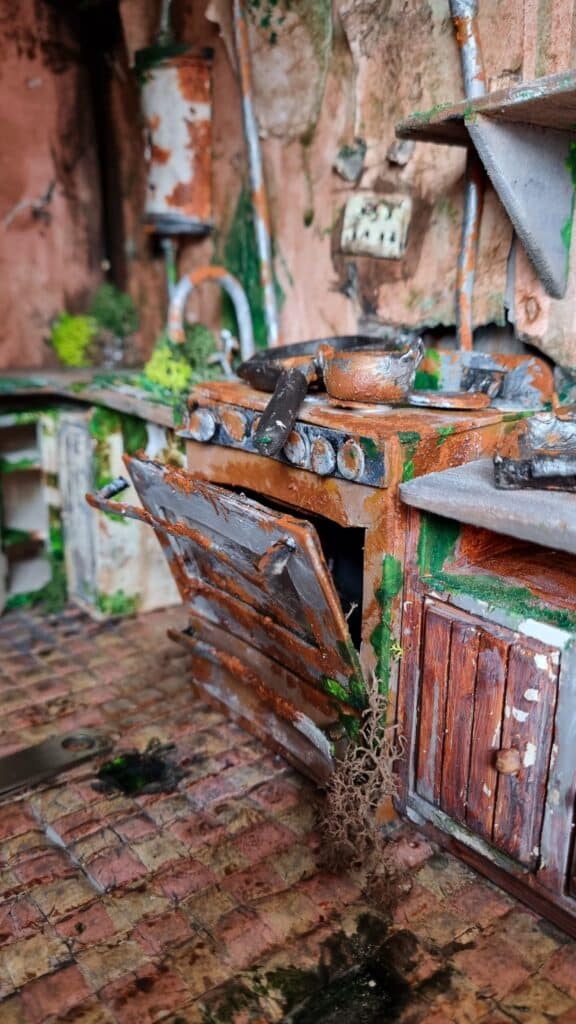
The kitchen needed to be one of the most neglected rooms in the dollhouse. I replaced the old walls with tiled walls made from foamcore board, which I cut and scored to create individual tiles. I also added stud walls behind the foamcore walls, leaving gaps where the studs could be seen.
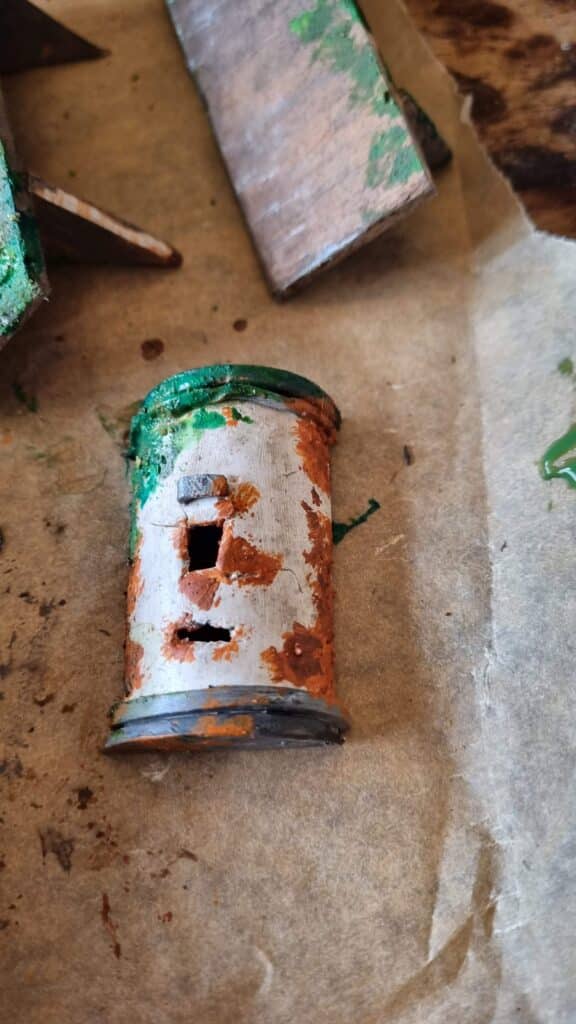
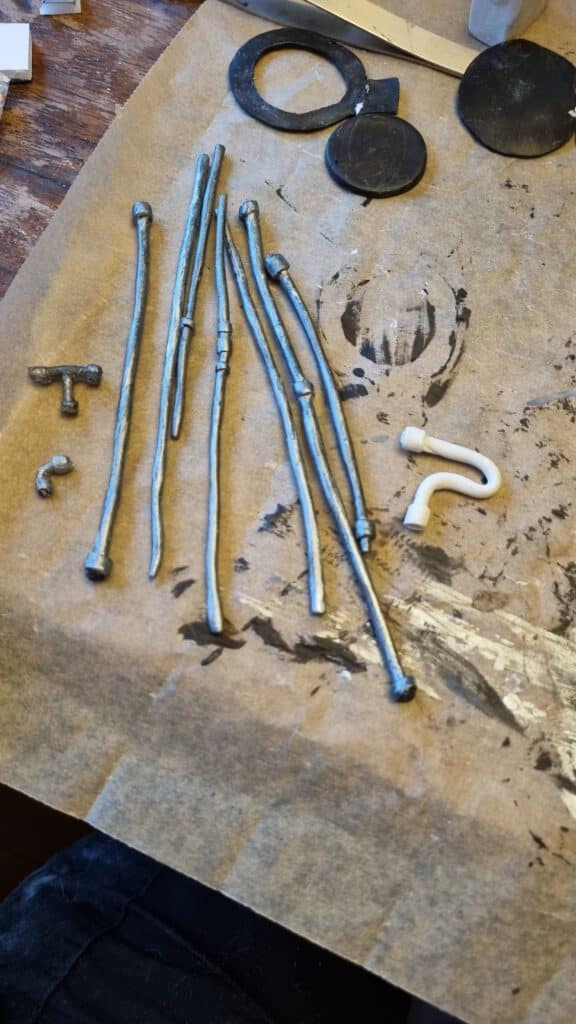
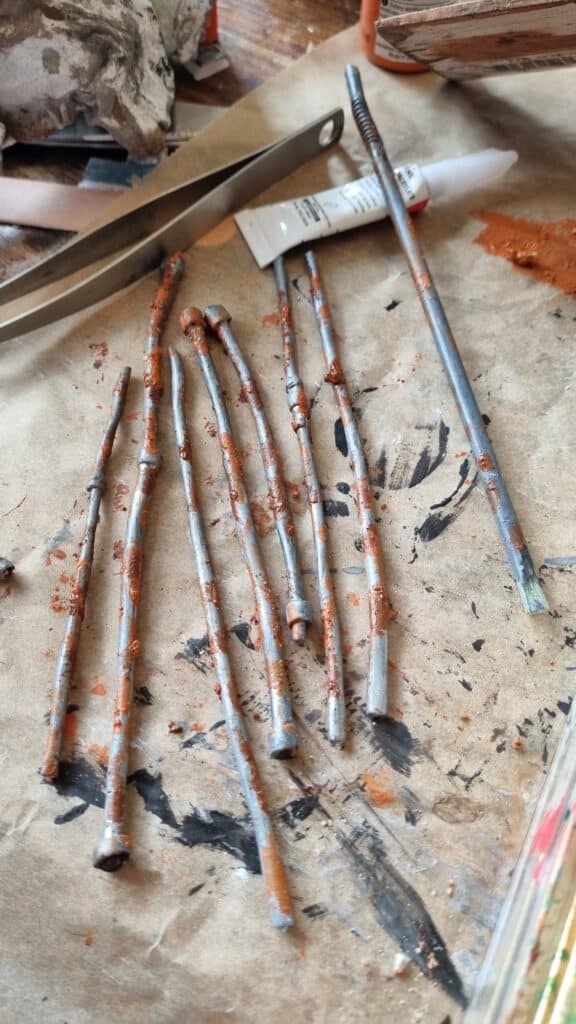
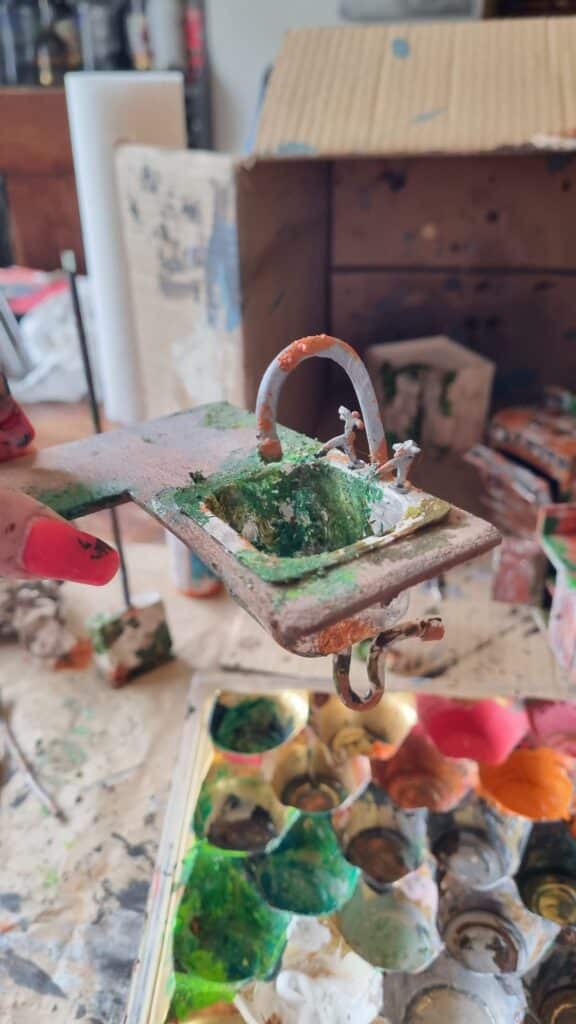
To create a sense of decay, I added a small plug in one of the walls that had come away from the studs, with broken cabling exposed. For the plumbing, I created lots of old pipes, including an elbow joint that I was particularly proud of, and an old boiler.
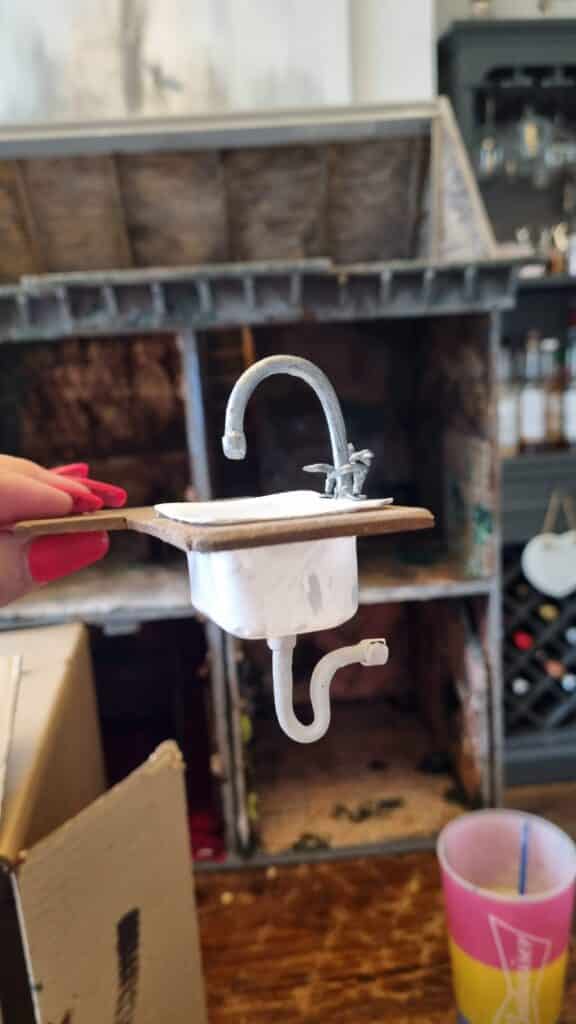
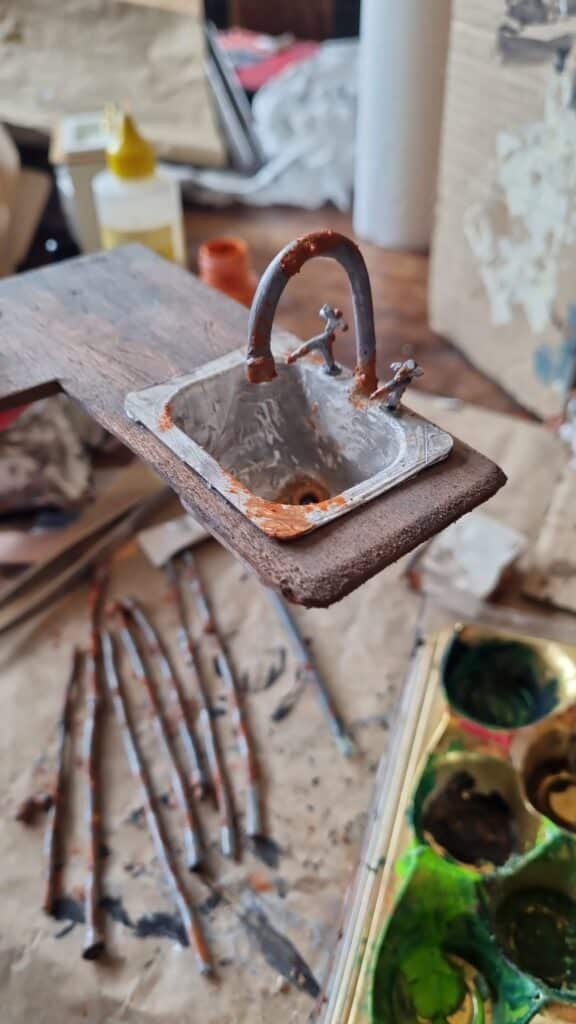
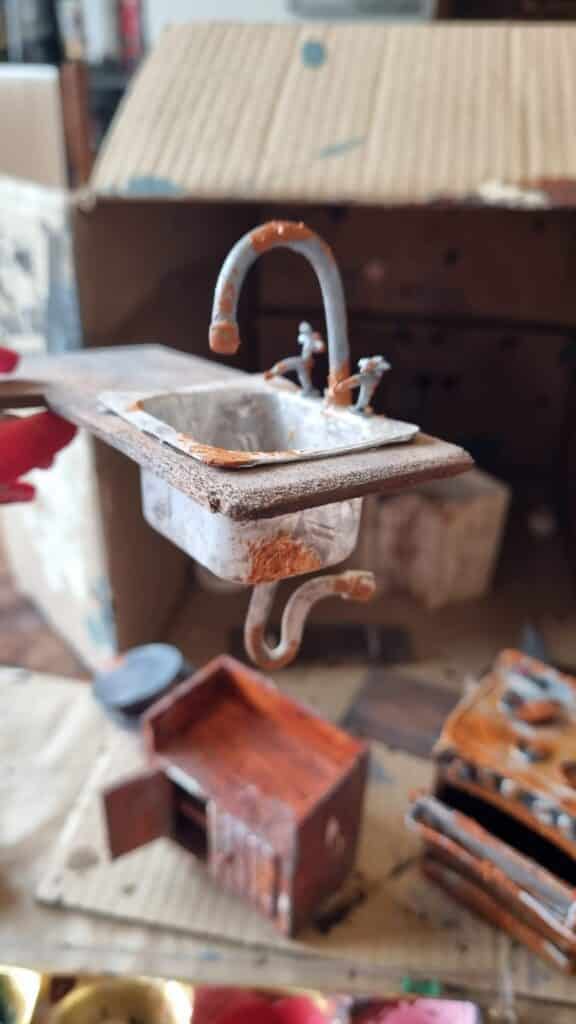
I reused the original kitchen cabinets but distressed them to give them a weathered appearance. I also made a sink from scratch using polymer clay, including a u-bend part that I was particularly proud of. To make the sink look realistic, I distressed it and added a layer of brown paint to simulate stale, rotten water.
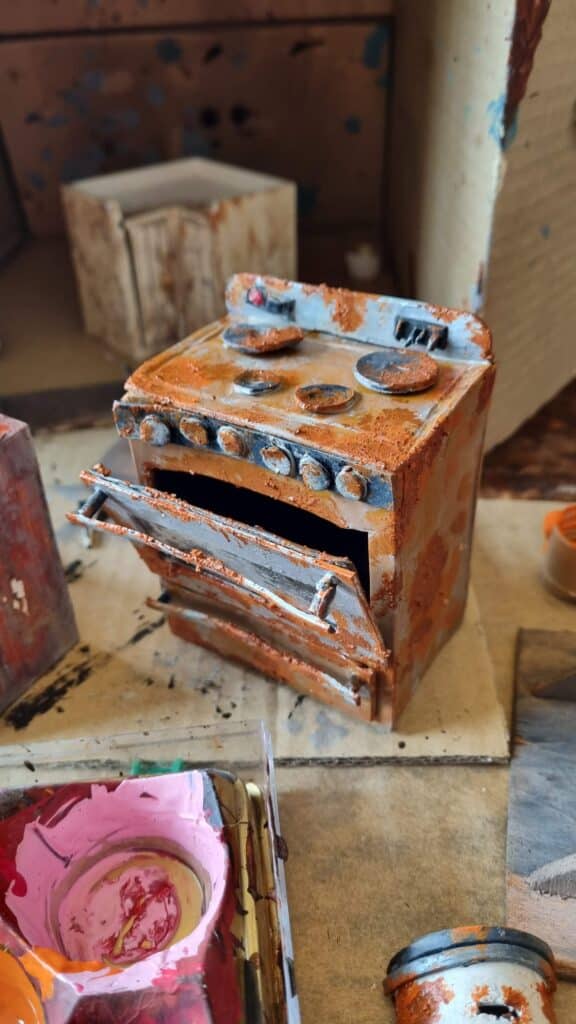
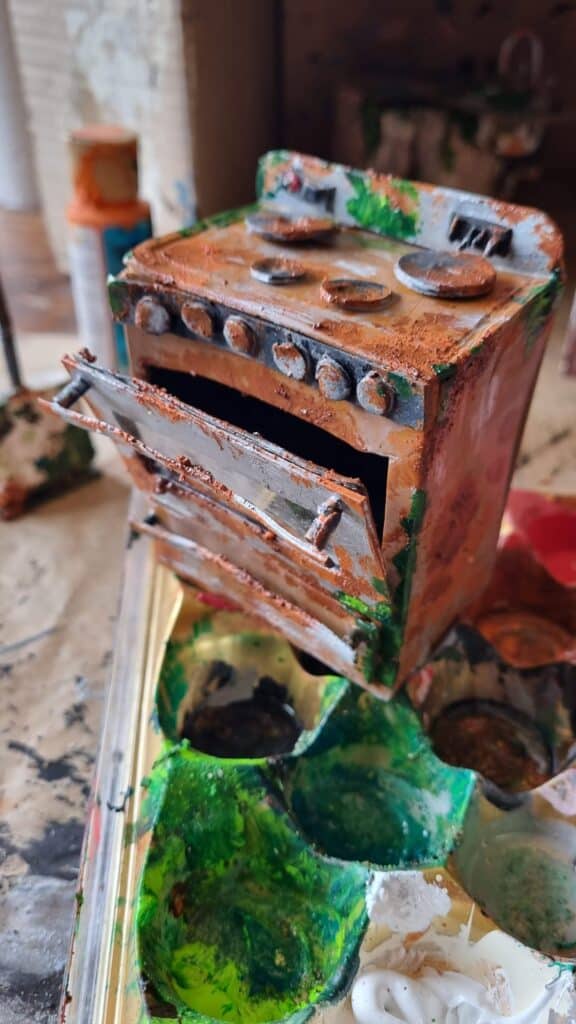
One of my favorite parts of the kitchen was the stove. I researched old stoves and then made it look rusty using sand mixed in with rust colors to get that bubbled effect.
The Mouldy Bathroom
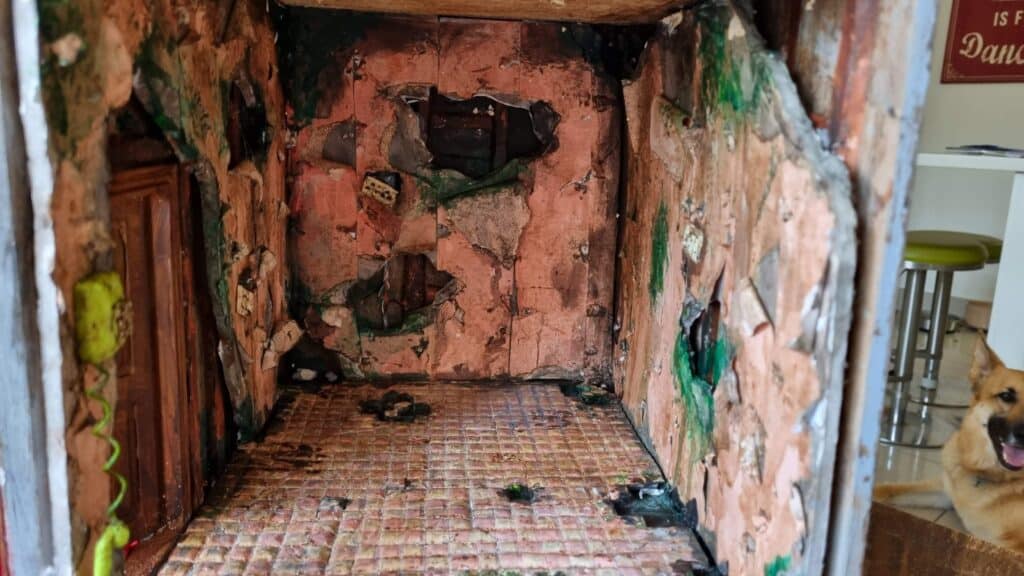
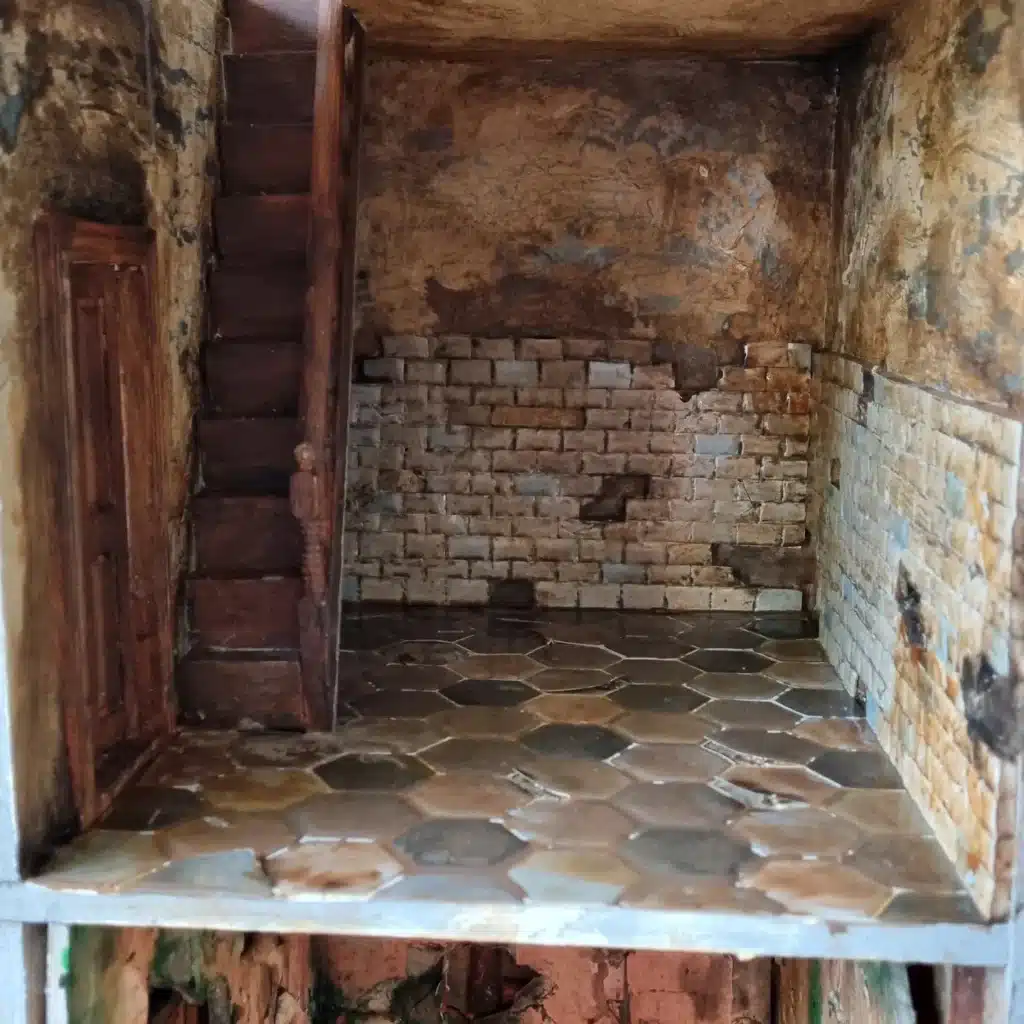
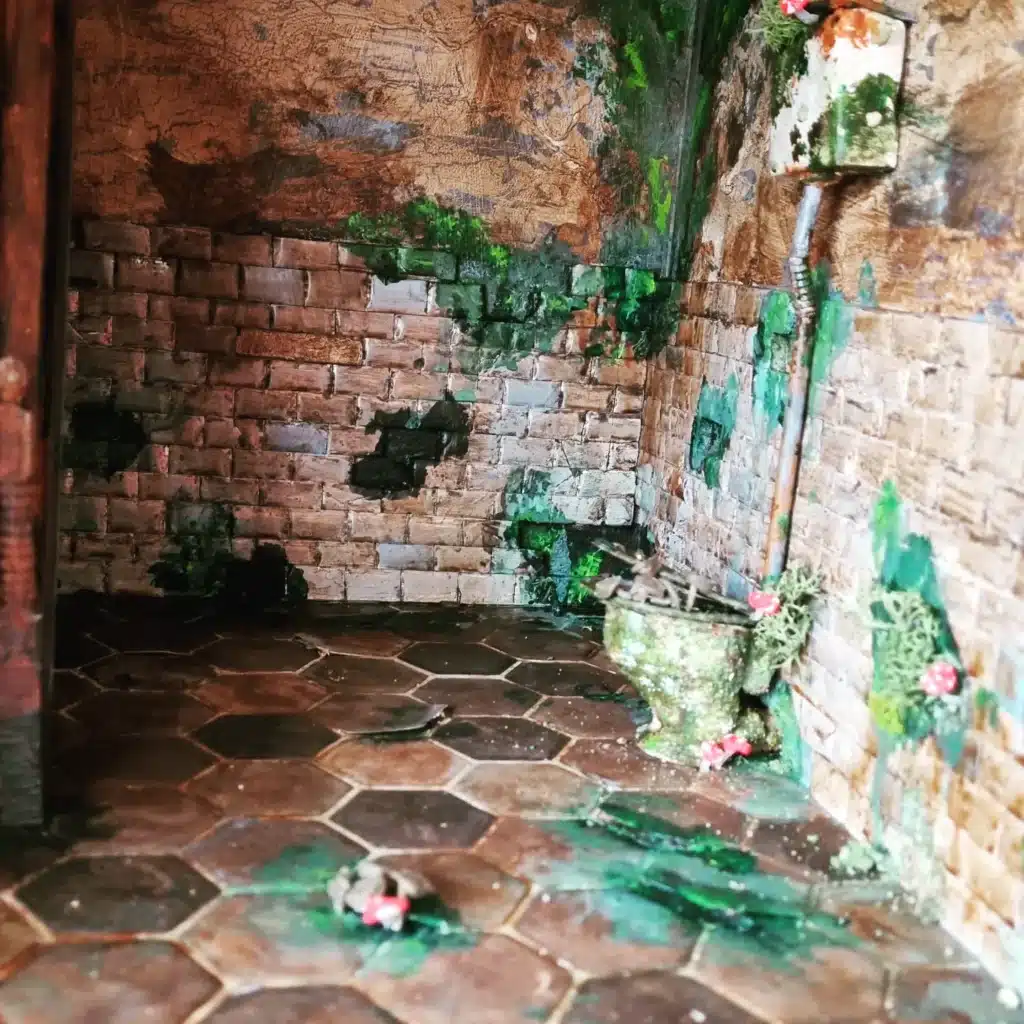
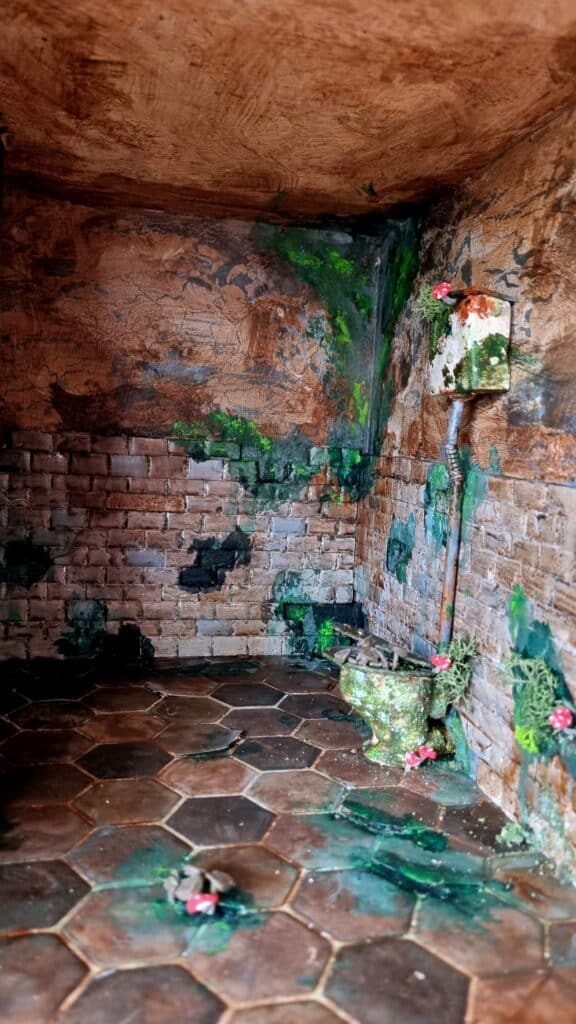
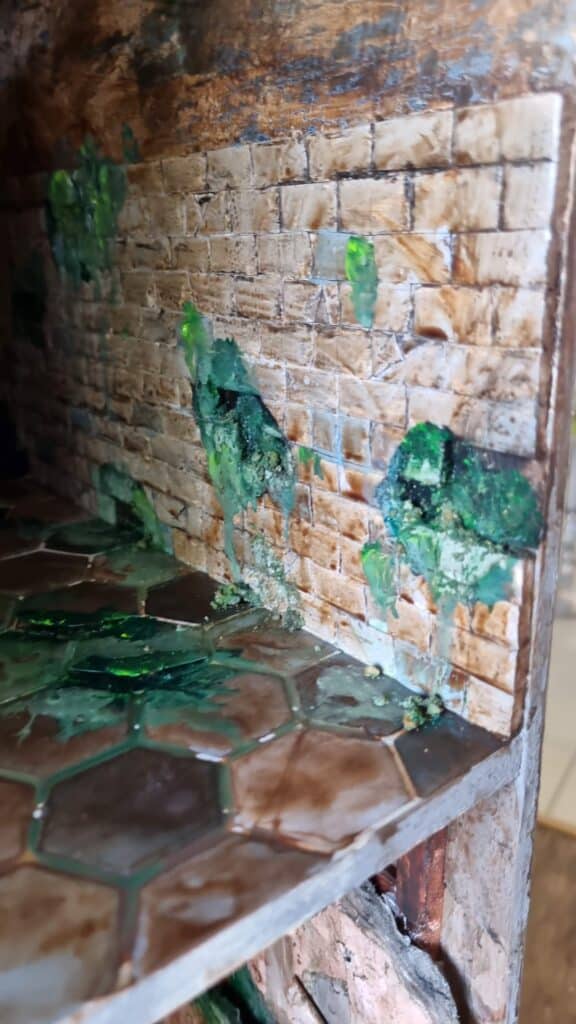
The bathroom was another room that required a complete overhaul. I used the same technique of creating tiles from foamcore board to replace the old walls. To create a sense of decay and neglect, I added mold and mildew to the walls, ceiling, and floor.
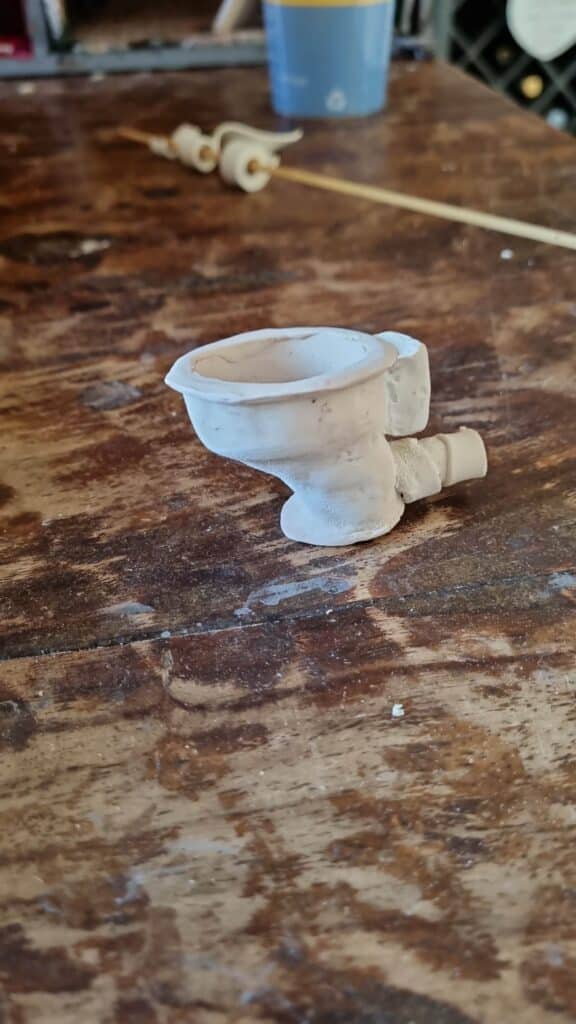
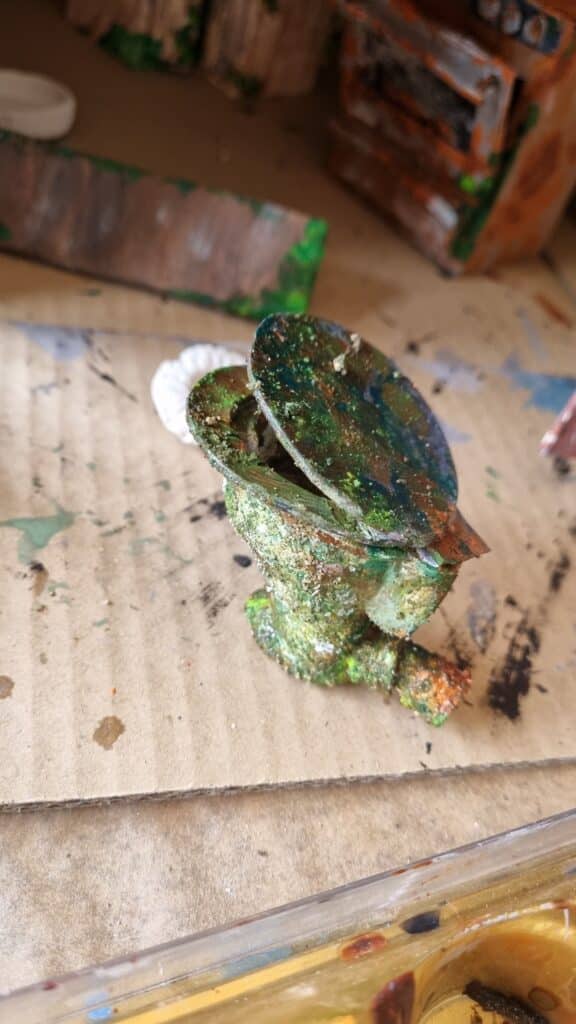
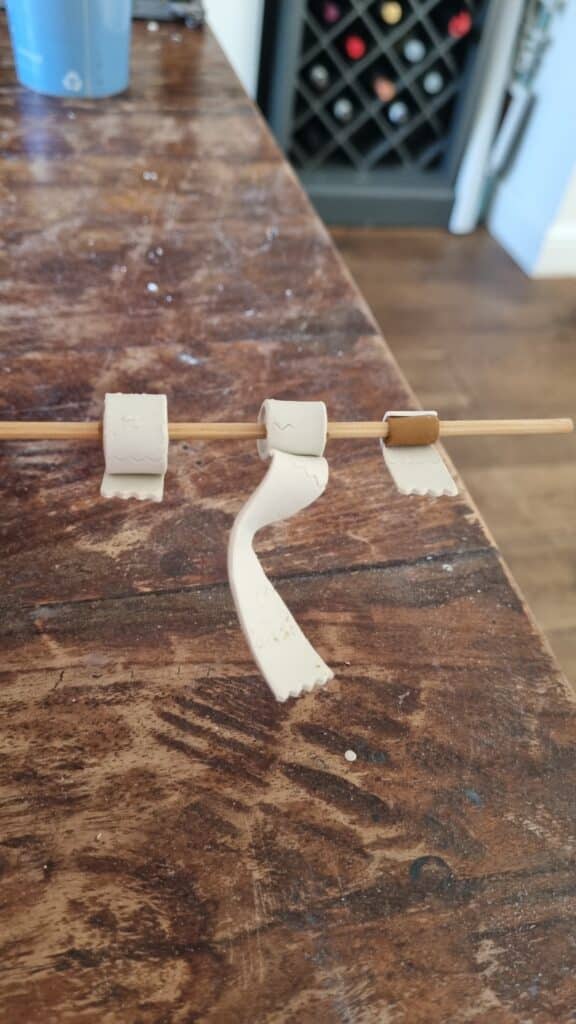
I also created a toilet from polymer clay, including an old-fashioned cistern. I distressed the toilet and added tiny mushrooms growing from the base. For the floor, I used a cheap stick-on floor tile that I distressed and aged to give it a worn and weathered appearance.
The Neglected Living Room and Bedroom
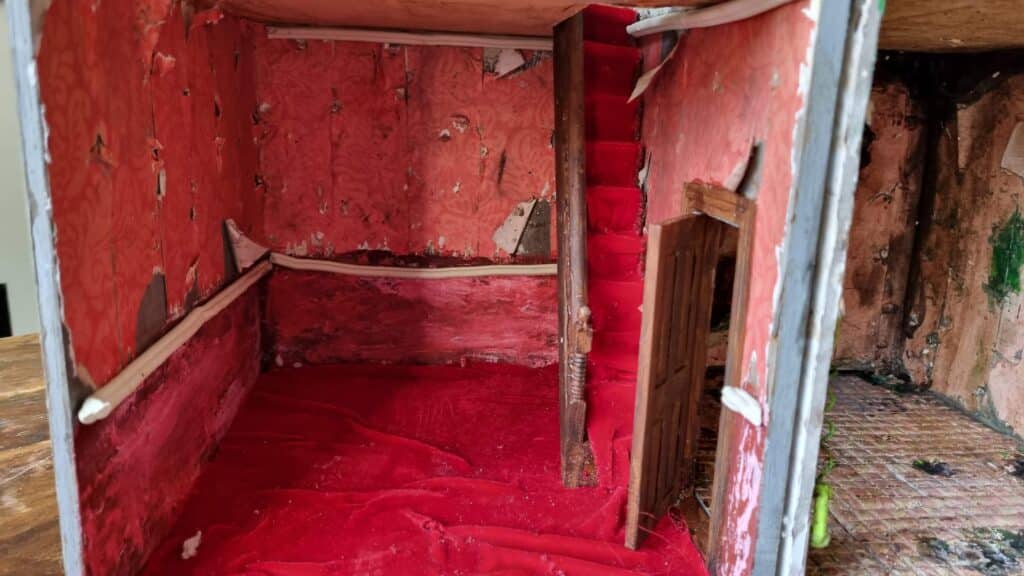
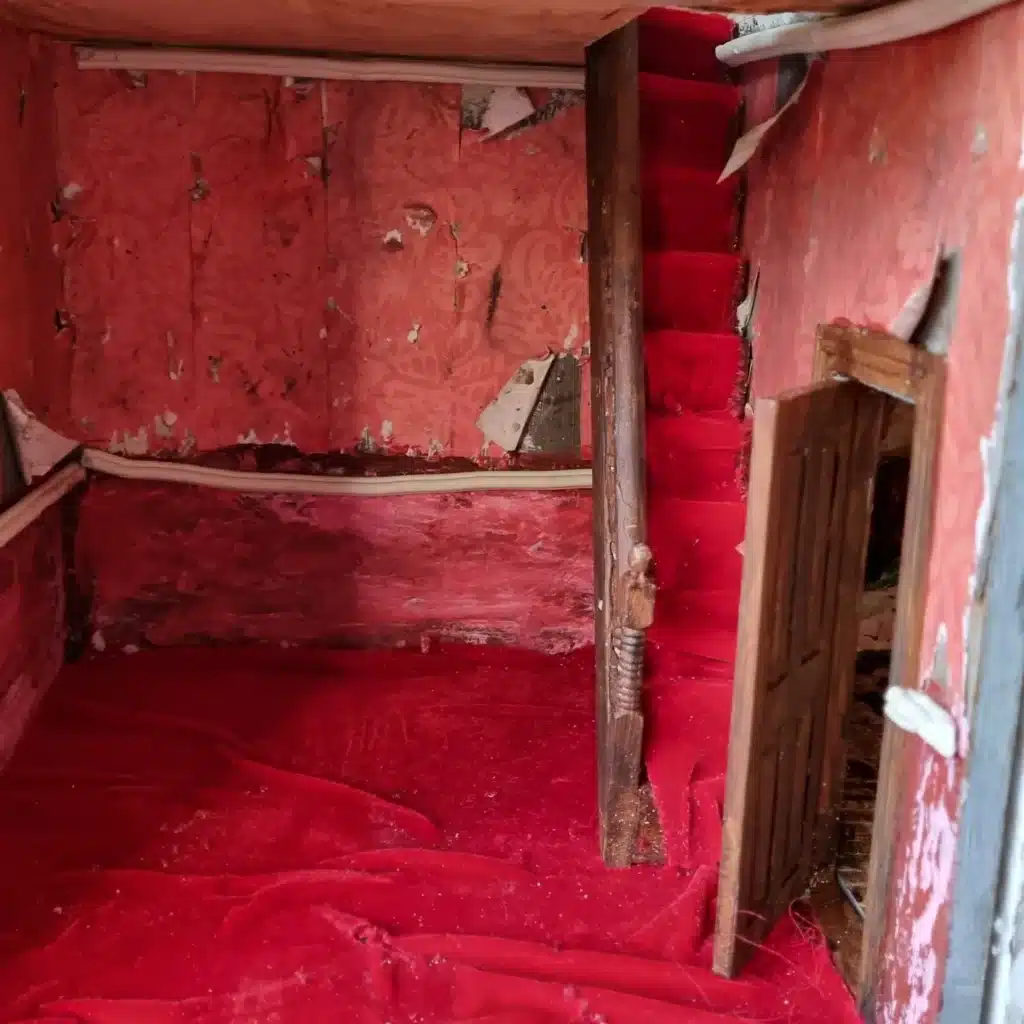
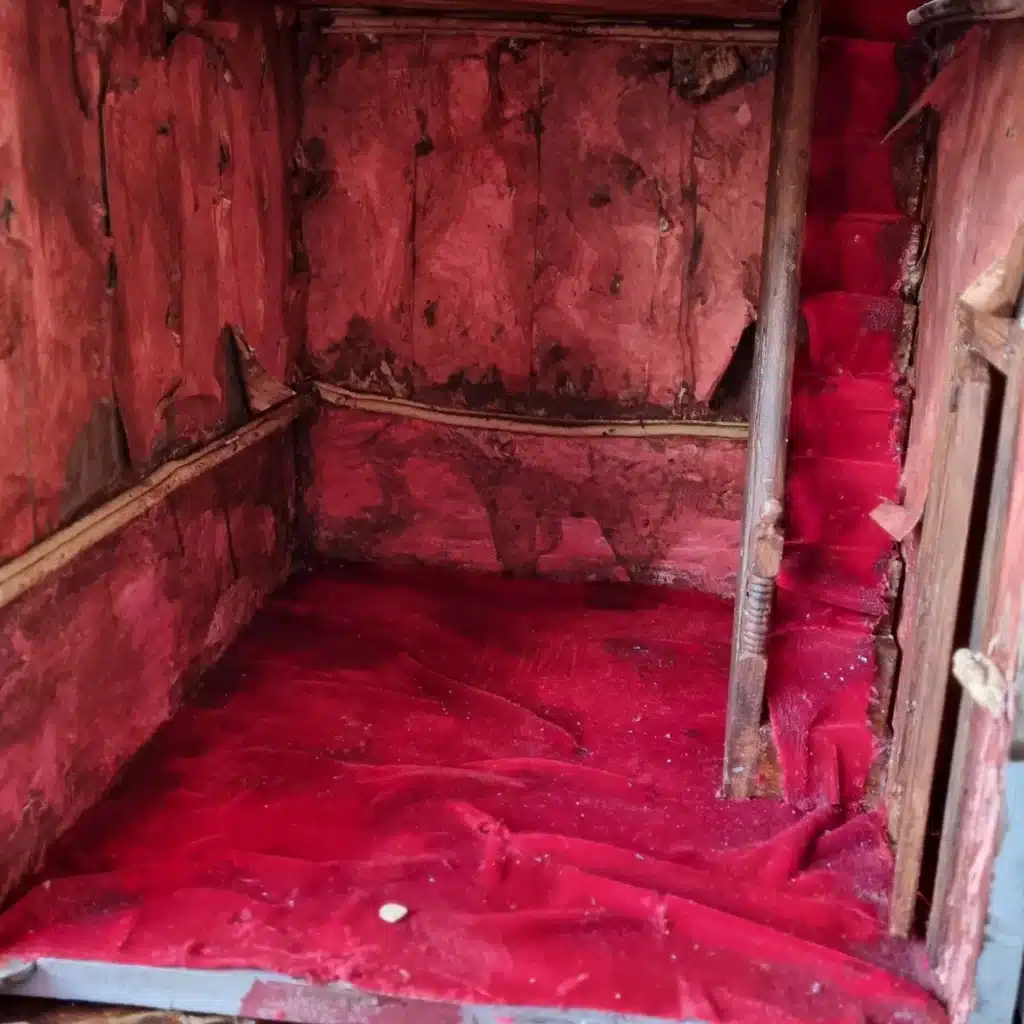
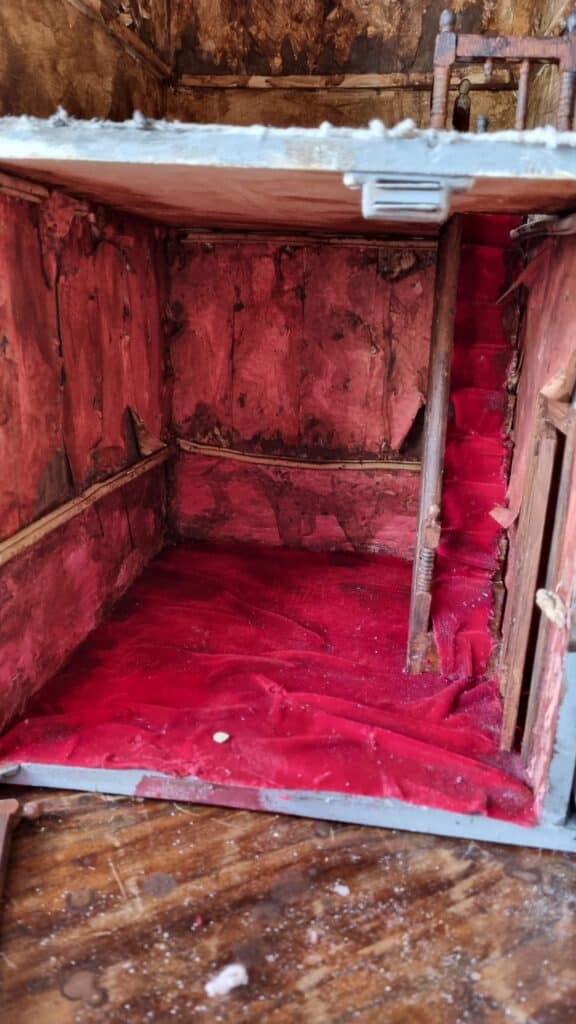
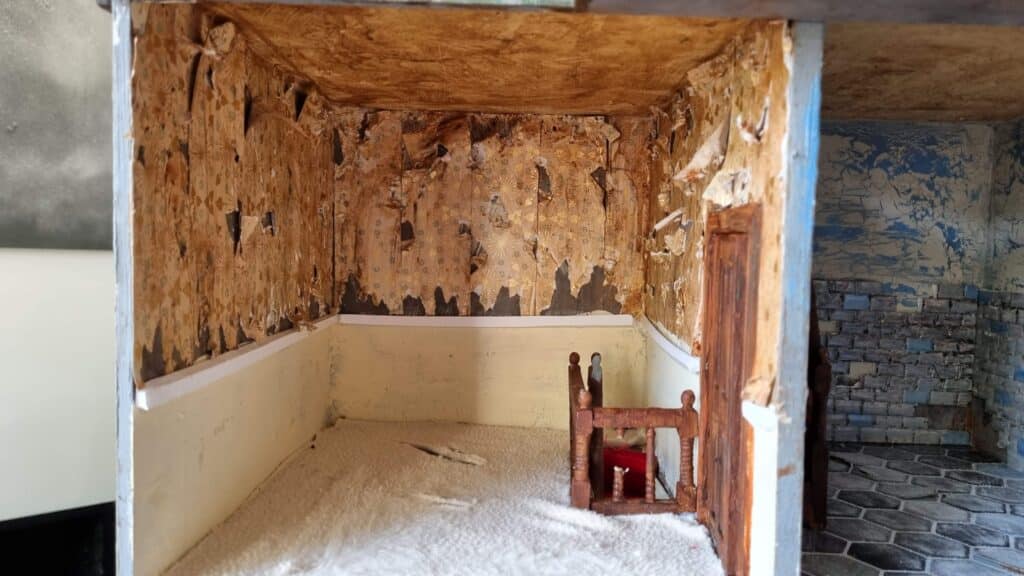
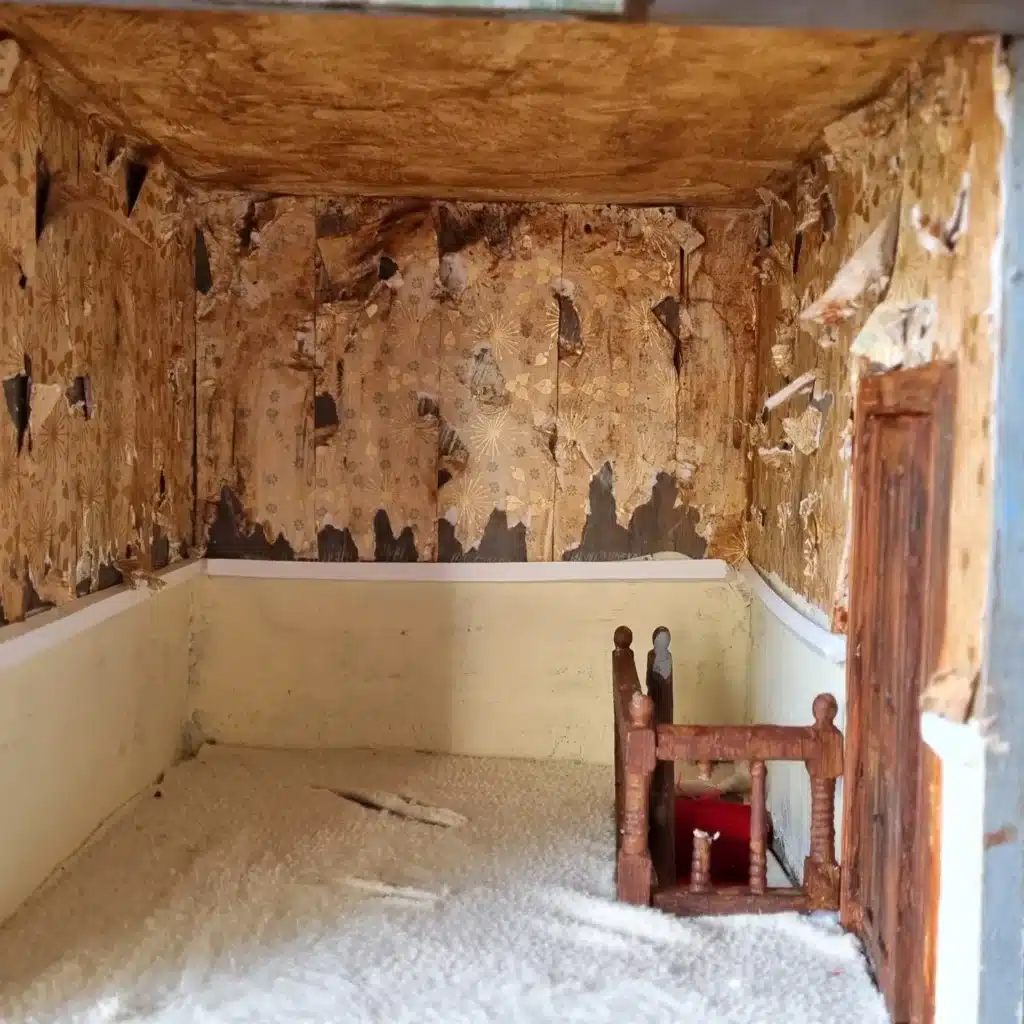
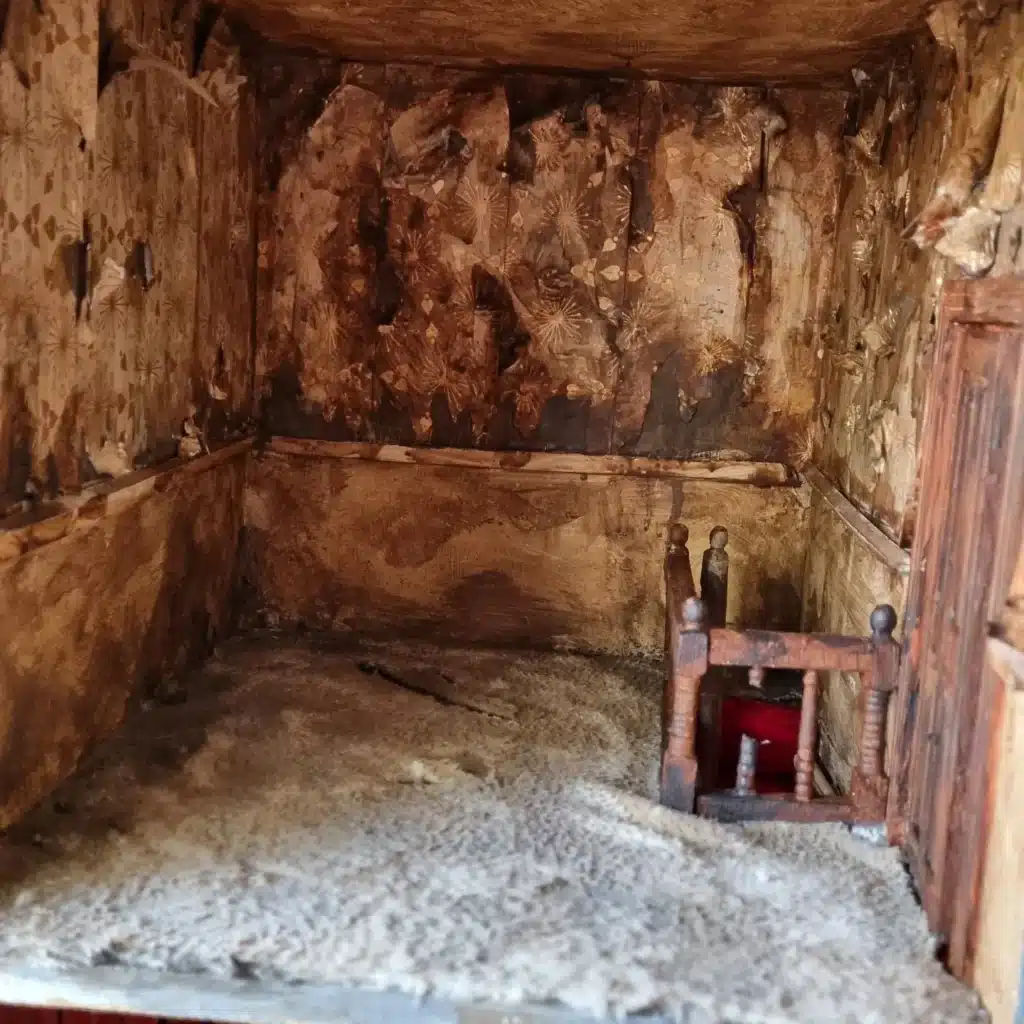
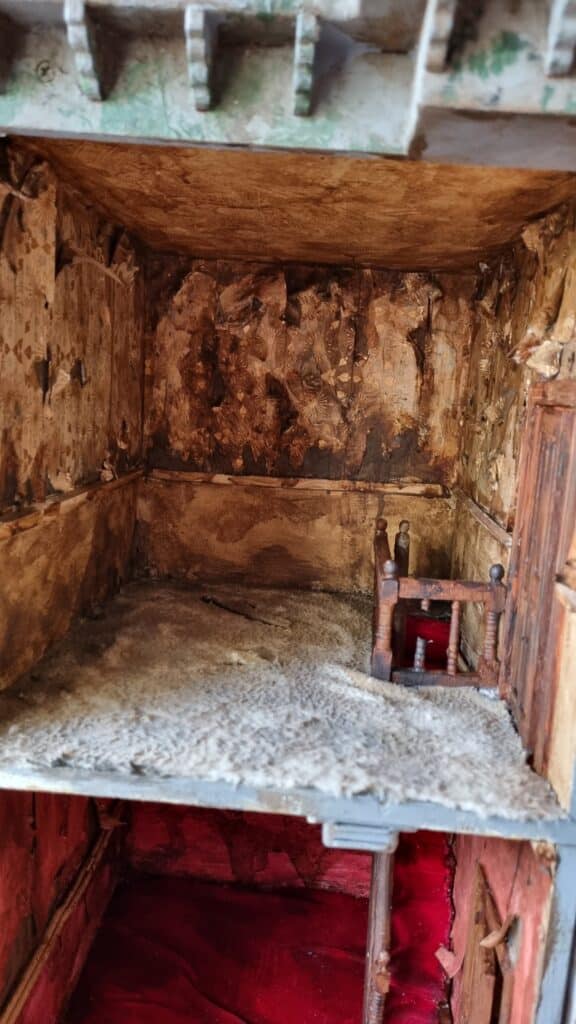
While the kitchen and bathroom required extensive renovations, the living room and bedroom were in relatively better condition. To create a sense of neglect and decay, I added peeling wallpaper made from scrapbooking background sheets and a dado rail that was coming off the wall. I also replaced the flooring with carpet made from old fleece blankets.
The Dusty Attic
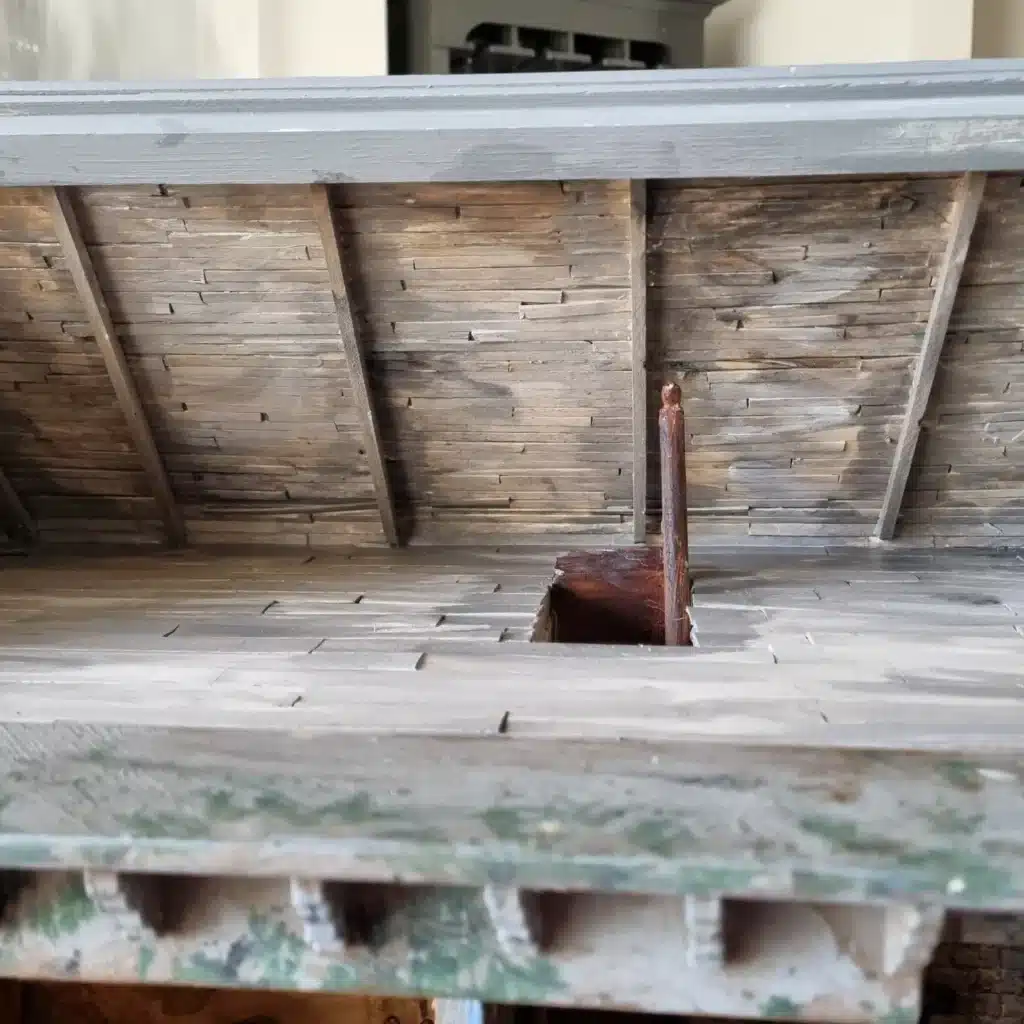
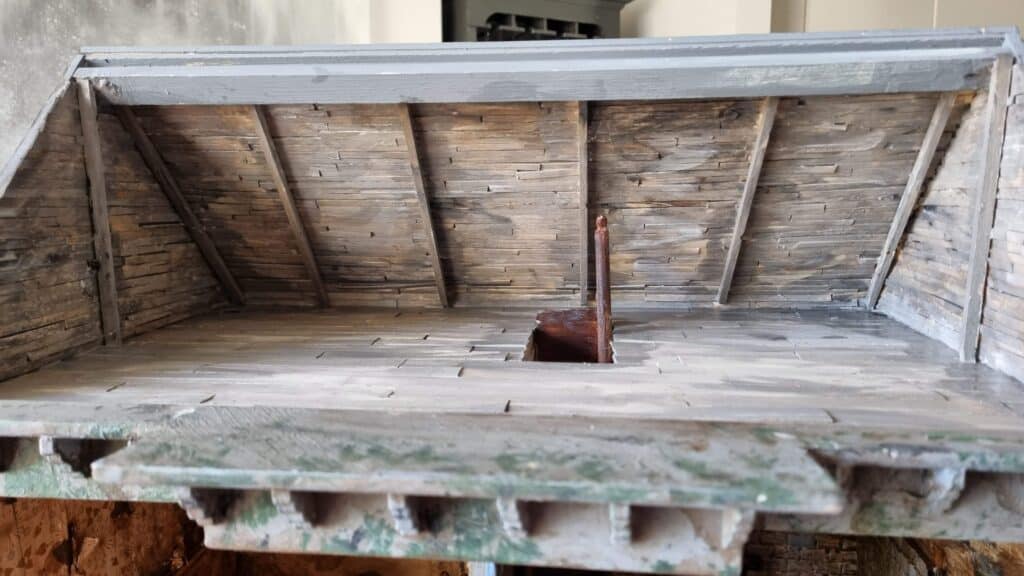
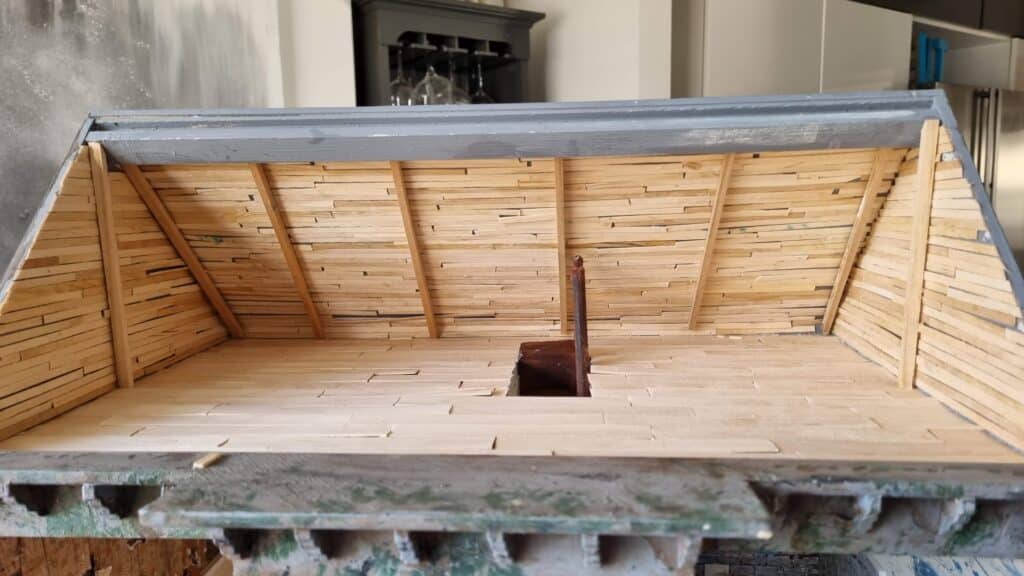
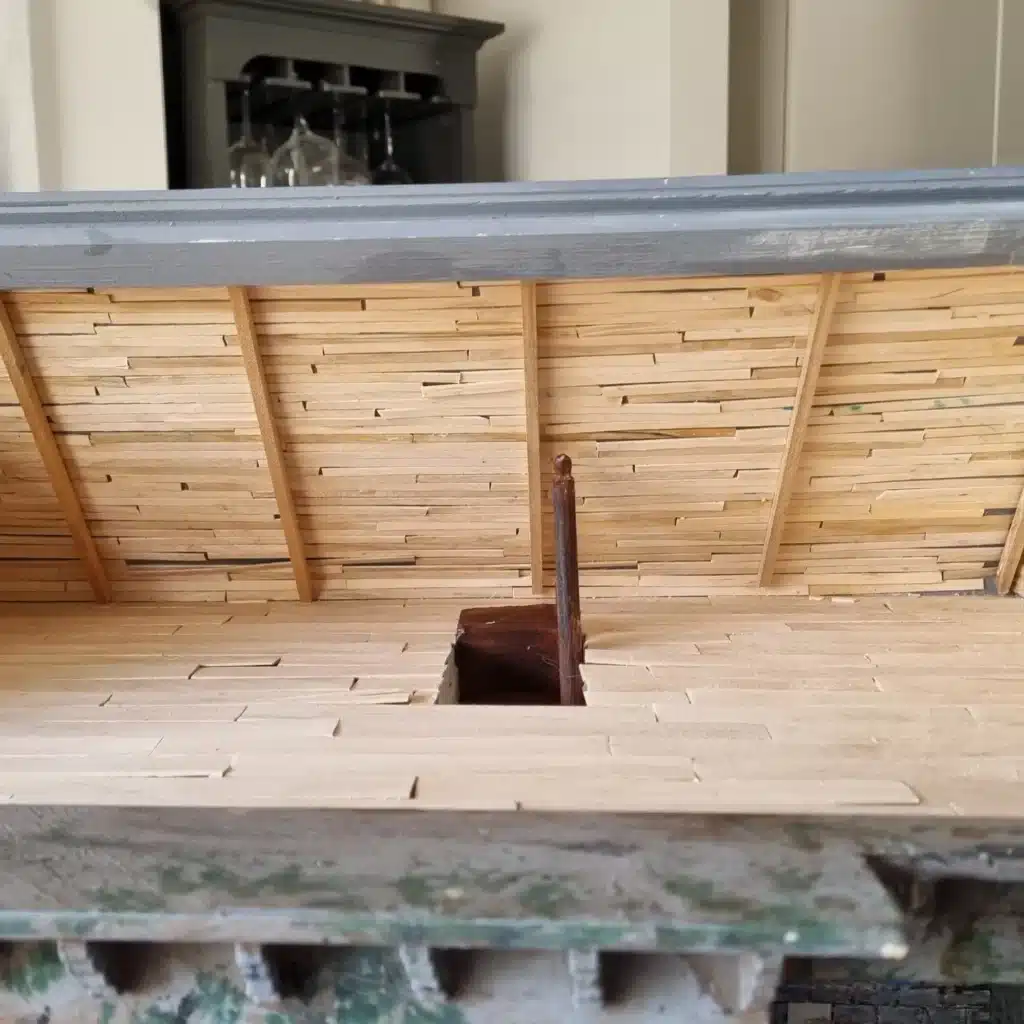
The attic was the final room to be restored. To give the attic a realistic appearance, I added studs and then used popsicle sticks to create the look of wooden slats that are often found in attic roofs and walls. I aged the slats with a mix of grey and brown paint to create a weathered and dusty look.
Conclusion
It’s not finished yet, but it is one of my favourite things to have made. So much fun.

